The Start-Up Researcher's Guide to Centrifuge Rotors
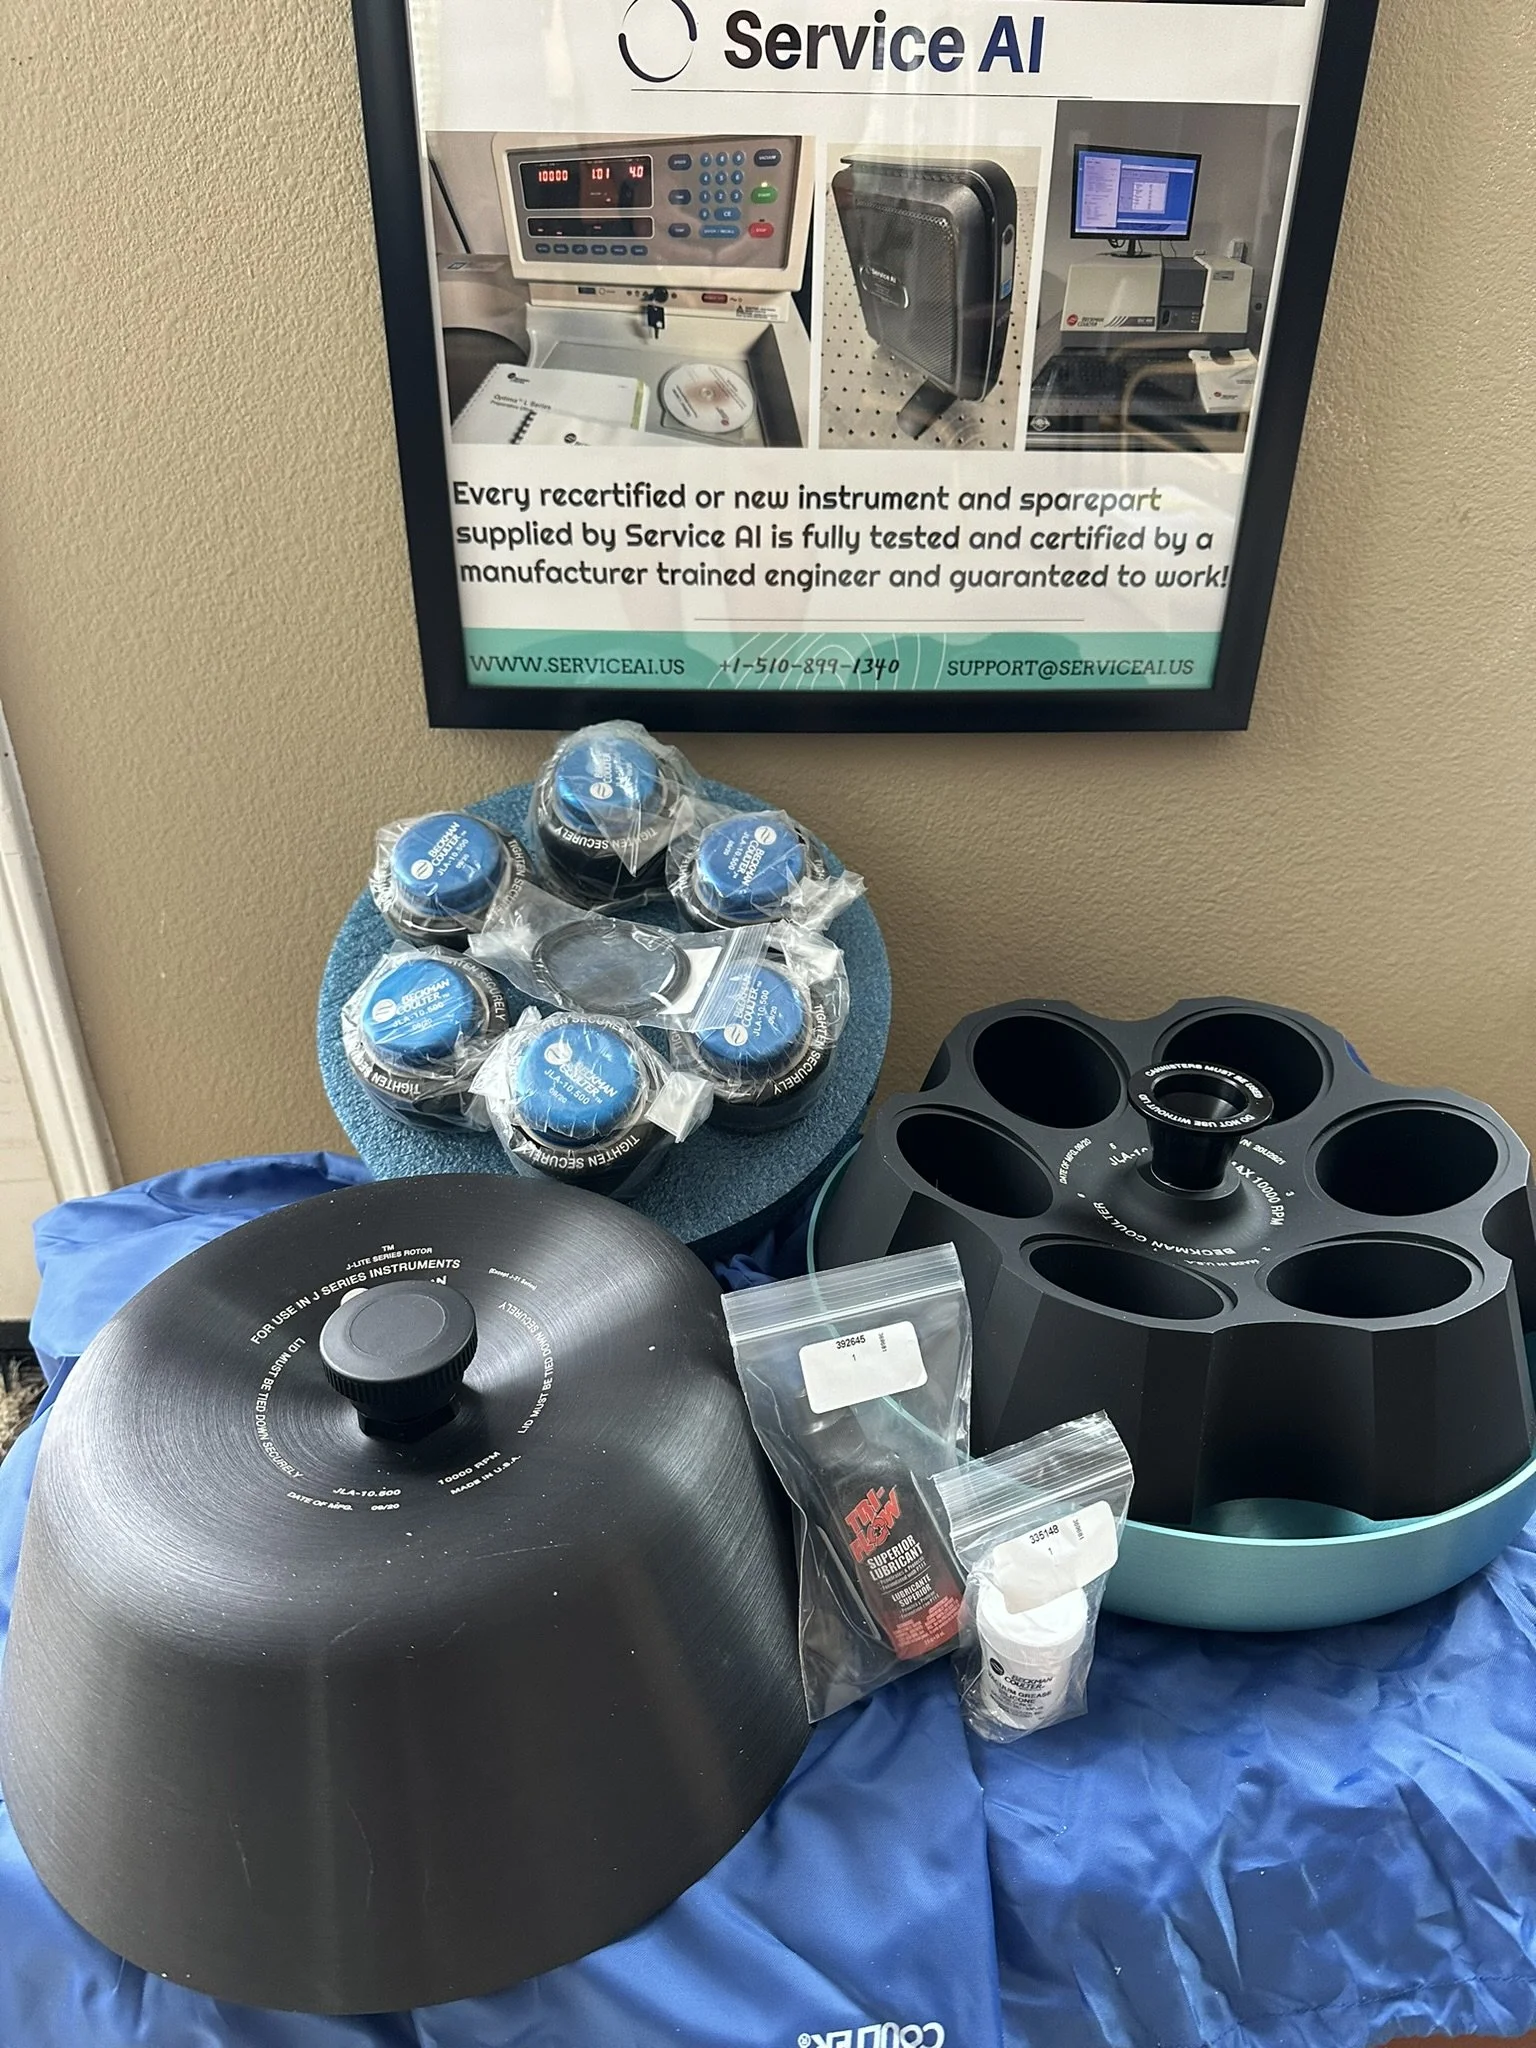
Service AI
Practical, budget-conscious centrifugation knowledge for university labs and early-stage biotech teams.
This guide is written specifically for researchers in university labs, early-stage start-ups, and scientists who need to make smart decisions about rotor selection, usage, and maintenance without a Beckman Coulter applications team on speed dial. We will cover the science you need, the practical tips that save money, and the safety fundamentals that protect both you and the equipment that may belong to your department, your core facility, or your investors.
First Things First: What a Rotor Actually Does
A rotor is a precision-engineered component that holds your tubes or bottles and spins them at speed to separate particles by size, shape, and density. In biological research those particles might be cells, organelles, proteins, nucleic acids, or viruses. During a run, centrifugal force causes denser particles to sediment faster and farther than lighter ones, creating the separation you need.
Every rotor shares the same core components: a rotor body, rotor lid, handle, identity mechanism, and an overspeed protection device. Modern rotors can sustain speeds up to 130,000 RPM and forces exceeding 1,000,000 × g while maintaining structural integrity. They are not interchangeable across centrifuge classes, and using the wrong rotor in the wrong instrument is one of the most dangerous mistakes a new researcher can make.
Rotor Types: Choosing the Right Tool for the Job
This is where most new researchers go wrong — picking a rotor based on what was already in the lab rather than what the experiment actually requires. Here is a plain-language breakdown of your options.
Fixed Angle Rotors — Your Everyday Workhorse
Tubes sit at a fixed angle (typically 20 to 45 degrees) to the axis of rotation. The shortened particle pathlength means faster pelleting and quicker runs. If you are doing routine cell pelleting, bacterial cultures, or subcellular fractionation, a fixed angle rotor is almost certainly what you need.
Swinging Bucket Rotors — For High-Resolution Gradient Work
Buckets swing from vertical at rest to horizontal at speed, creating a geometry that maximizes resolution between bands in a gradient. Use these when you need to distinguish closely related populations — for example, separating viral particles by buoyant density, doing sucrose cushions for organelle purification, or resolving nucleosomes on a gradient. They are slower to pellet but unmatched for resolution.
Important note for shared equipment: always attach all buckets, even empty ones, or the rotor will be dangerously unbalanced. Brief your lab mates on this if you share the centrifuge.
Vertical Tube Rotors — Speed When You Need It
Tubes are held parallel to the axis, causing bands to separate across the tube diameter rather than its length. This dramatically cuts run times for isopycnic separations. A 20-hour CsCl gradient run in a swinging bucket rotor can sometimes be completed in 4 to 5 hours in a vertical tube rotor. They require sealed tubes (Quick-Seal or OptiSeal) which adds consumable cost, but for high-throughput or time-pressured applications the trade-off is worthwhile.
Near Vertical Tube Rotors — The Compromise Option
A shallow angle (7 to 10 degrees) dramatically reduces run times versus conventional fixed angle rotors, while still allowing unsedimented components to pellet or float. A practical middle ground when you cannot justify the sealed-tube cost of a full vertical rotor but need faster throughput than a standard fixed angle provides.
Special Purpose Rotors — When Standard Rotors Are Not Enough
Zonal rotors (large bowl-shaped rotors for processing liters of sample), continuous flow rotors (for concentrating viruses or bacteria from very large volumes), and elutriation rotors (for separating live cell populations by size without labeling) all exist for specialized, usually preparative-scale applications. These are rarely found outside core facilities or well-funded labs. If your application requires them, access through your university core facility is almost certainly the most practical route.
Rotor Materials: What They Are Made Of and Why It Matters
Aluminum Alloy
The most common rotor material. Anodized during fabrication to create a thin, protective aluminum oxide layer that resists corrosion. Lighter than titanium, widely available, and more affordable. The downside: the anodized coating can be damaged by scratches, strong bases, and high-pH cleaning agents, and once the coating is breached, corrosion accelerates dramatically under centrifugal stress.
Titanium
Stronger and significantly more chemically resistant than aluminum. Identifiable by black polyurethane exterior paint. Titanium rotors are the better choice if your protocols involve corrosive reagents, cesium chloride, or aggressive salts. They are more expensive to purchase but tend to have longer service lives when properly cared for.
Fiber-Reinforced Composites
Carbon fiber epoxy composite rotors are substantially lighter than comparable aluminum rotors, which means less wear on the drive spindle and faster acceleration. They are increasingly common in newer high-performance centrifuges. Critical limitation: never use acetone, MEK, chloroform, cyclohexane, or other organic solvents on composite components as these degrade the epoxy matrix and can lead to rotor failure.
Rotor Selection: A Decision Framework for Resource-Constrained Labs
Before you buy or borrow a rotor, work through these questions in order:
- What is my sample volume? Small volumes can go in standard microcentrifuge or fixed angle rotors. Liter-scale volumes need continuous flow or zonal rotors.
- Am I pelleting, or do I need to resolve bands? Pelleting = fixed angle is usually fine. Band resolution = swinging bucket or vertical tube.
- How time-sensitive are my runs? Vertical and near-vertical rotors offer the fastest path to isopycnic equilibrium.
- What tubes or bottles do I already have or can afford? Vertical tube rotors lock you into Quick-Seal or OptiSeal consumables.
- Does my centrifuge's classification letter match the rotor? This is non-negotiable for safety.
- Is there a used, refurbished, or shared-access option that meets my needs?
Safe Operation: What You Cannot Afford to Get Wrong
Balance Your Rotor — Every Single Time
An unbalanced rotor creates vibration that damages the drive spindle — a repair that can cost thousands of dollars and take a shared instrument offline for weeks. In the worst case, it leads to rotor failure at speed. Always fill opposing tubes to the same level with solutions of equal density, and always arrange tubes symmetrically. For a 6-place rotor, that means 2, 3, 4, or 6 tubes positioned evenly around the circumference.
For swinging bucket rotors: attach every bucket, even if empty. For vertical and near-vertical rotors: insert spacers and plugs only in holes that contain loaded tubes. A single gram at the base of a spinning SW 60 Ti bucket at 60,000 RPM exerts the centrifugal equivalent of half a ton of force. Balance is not bureaucratic caution — it is physics.
Understand Overspeed Protection
Modern ultracentrifuges use a photoelectric overspeed system that reads alternating reflective sectors on a disk attached to the rotor base. If the rotor exceeds its rated speed, the instrument automatically decelerates. These instruments will not even start if the disk is missing. Older instruments use a mechanical knockout pin system. In both cases: never swap overspeed disks between rotors, and replace the disk if it is damaged or if the rotor has been regularly run significantly below its rated speed due to load adjustments.
Know When to Reduce Speed
Running at rated speed is not always safe. You must reduce speed below the rotor's rated maximum in all of the following situations:
- Dense solutions — if solution density exceeds the rotor's rated allowable density, calculate reduced speed using the square-root formula in your rotor manual
- Cesium chloride gradients — concentrated CsCl can precipitate mid-run at full speed; use the CsCl curves in your rotor manual
- Uncapped thick-wall plastic tubes in fixed angle rotors — tube collapse risk
- Polycarbonate or polypropylene bottles — deformation risk under stress
- Stainless steel tubes — added mass requires speed reduction; consult your rotor manual
- Delrin adapters with small tubes — Delrin's 1.4 g/mL density adds load requiring speed reduction
Care and Maintenance: Protecting Equipment You Cannot Easily Replace
Clean Immediately — Every Time
The most impactful maintenance habit you can develop is washing your rotor immediately after any run involving salts, buffers, biological material, or spillage. Corrosive materials left to dry on the rotor surface begin attacking the anodized coating within hours.
- Use only plastic or wooden tools to remove O-rings — never metal
- Wash with a neutral-pH, non-corrosive detergent and soft, non-scratching brushes
- Rinse thoroughly and air-dry upside down
- Never use acetone to dry rotors
- Never soak overnight in detergent solution
- Never wash in a dishwasher — the heat and alkaline detergent will damage the anodized coating
- For swinging bucket rotors: do not spray or immerse the rotor body — liquid trapped in the hanger mechanism causes hidden internal corrosion
- Clean swinging bucket pins and sockets roughly weekly or every 250 runs
Lubrication
O-rings in fixed angle lids and swinging bucket caps should be kept clean and lightly coated with silicone vacuum grease — this maintains the seal that keeps atmospheric pressure inside the rotor during a run. Plug gaskets in vertical and near-vertical rotors (typically made of DuPont™ Hytrel®) do not require grease. Lightly lubricate rotor threads (lids, handles, bucket cavities) to prevent seizing and corrosion buildup.
Decontamination and Sterilization
For radioactive contamination: use RadCon Surface Spray, IsoClean Solution (for soaking), or Radiacwash — all have been tested to not damage anodized aluminum. Use IsoClean only for the minimum necessary time as it can fade colored anodized surfaces.
For pathogenic or BSL-2 material: follow your institution's biosafety office guidance. Most rotors and components can be autoclaved at 121°C, but verify with your specific rotor model's manual first. Strong bases and high-pH solutions will damage aluminum rotors. Make sure to confirm chemical compatibility before any decontamination.
Regular Inspection
Get in the habit of inspecting your rotor before every use. Look for scratches, pitting, discoloration, white powdery deposits (which indicate corrosion in aluminum), or any visible cracks. For titanium and composite rotors, look for chips in the paint coating or damage to the composite structure. Many rotor manufacturers offer field inspection programs. If your rotor is heavily used or has an unknown history, a professional inspection is a worthwhile investment before running high-value samples.
When in doubt, retire the rotor. The cost of replacing a rotor is significantly less than the cost of an instrument failure — and far less than the cost of losing irreplaceable biological samples.
Overspeed Disk Replacement
If your rotor is regularly run at speeds significantly below its rated maximum, because of dense solutions, heavy tubes, or adapters, you should consider replacing the overspeed disk. The number of reflective sectors on the disk corresponds to the rotor's maximum speed, and running with an inappropriately calibrated disk can affect the photoelectric overspeed system's accuracy.
Rotor Failure: What to Do If It Happens
A rotor failure during a run is a serious incident. Do not open the centrifuge immediately. Modern centrifuges are engineered with containment rings to absorb the energy of a rotor failure, but the chamber should be treated as potentially hazardous until inspected.
- Keep the centrifuge chamber sealed and do not attempt to open it for at least 30 minutes after the run stops
- Notify your PI, safety officer, and the equipment owner immediately
- Document the run parameters, rotor history, and load details
- Contact the centrifuge manufacturer's service team before opening the chamber
- Quarantine the rotor fragments for manufacturer evaluation
For university labs: your Environmental Health and Safety (EHS) office needs to be notified of any significant equipment failure or incident. For start-ups: if the centrifuge is under any warranty, preserving the evidence chain by following manufacturer protocols protects your claim.
Smart Procurement: Making Rotor Decisions on a Tight Budget
For labs where every dollar counts, here is a practical framework for rotor acquisition:
- Used and refurbished rotors are a valid option for fixed angle and swinging bucket applications when sourced from reputable dealers and thoroughly inspected for signs of corrosion, cracking, and overspeed disk integrity. It is advisable to avoid used rotors with unknown histories or any indication of previous failure.
- Access to core facilities: Many university core facilities provide centrifuge usage on a per-run or per-hour basis. For applications requiring lower throughput, utilizing such services is typically more cost-effective than purchasing and maintaining your own equipment.
- Some manufacturers and distributors provide rotor rental programs for short-term projects.
- Establish rotor sharing agreements with neighboring laboratories possessing compatible rotors that are used infrequently. The agreement should outline a shared maintenance schedule and assign explicit responsibility for potential damage.
- Grant itemization: It is essential to allocate rotors distinctly from instruments when preparing grant applications. Reviewers from NIH and NSF expect consumable capital items to be explicitly identified within equipment budgets.
Key Takeaways
Whether you are running your first CsCl gradient in a university teaching lab or optimizing a cell harvest protocol for your pre-seed biotech, the same principles apply. Get these right and centrifugation becomes a reliable foundation for everything else in your workflow.
- Match rotor type to application: Fixed angle for speed and pelleting, swinging bucket for gradient resolution, vertical or near-vertical for fast isopycnic separations
- Know your rotor's material: Aluminum needs neutral detergents and gentle handling, titanium tolerates more chemistry, composites are incompatible with organic solvents
- Always balance your rotor and use the correct overspeed disk as these are safety fundamentals, not optional steps
- Reduce speed when using dense solutions, CsCl, stainless steel tubes, or heavy labware — do consult your rotor manual
- Clean after each use to prevent corrosion from scratches and stress
- Check the rotor before every use; replace any damaged rotor immediately, as it's cheaper than risking instrument failure or losing samples
- For shared equipment: establish written protocols, inspection checklists, and clear responsibility for maintenance
- Labs with limited budgets can benefit from accessing core facilities and carefully selected used rotors; these are practical resources that should be used thoughtfully